DIY floating wooden shelves

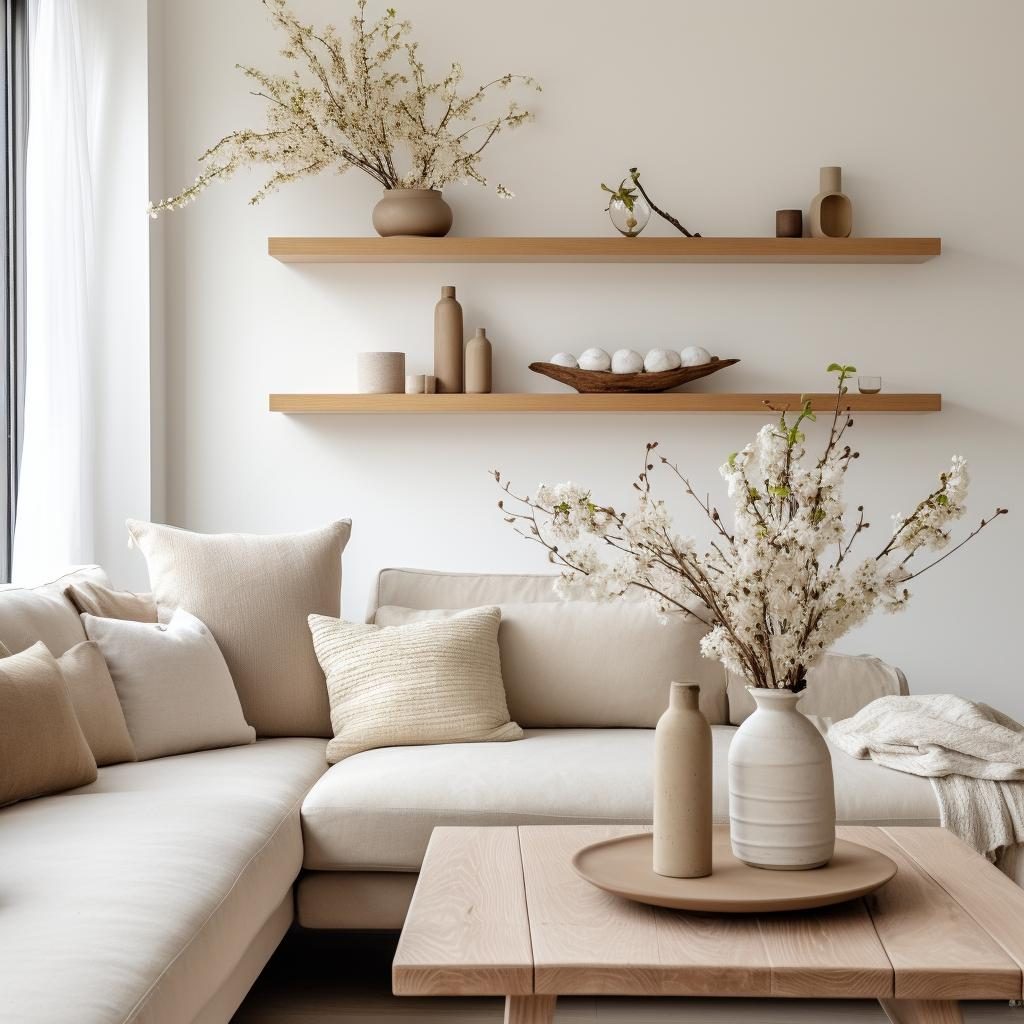
AN EMPTY WALL CAN BECOME YOUR FAVORITE CORNER.
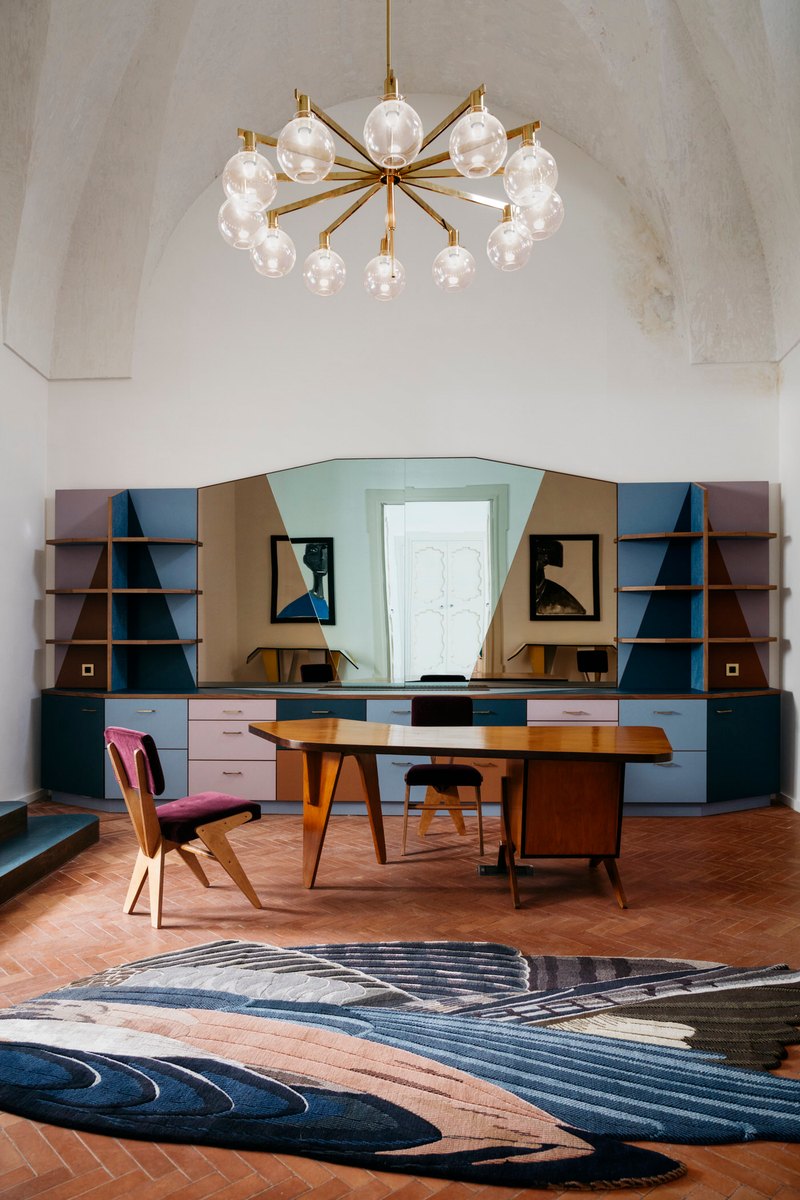
Want more storage without making your room feel crowded? Try these DIY floating wooden shelves. They add warmth, create extra display space, and make even a simple wall look thoughtfully designed.
DIY FLOATING WOODEN SHELVES
What you'll need:
- Wooden board cut to your preferred size
- Floating shelf brackets or suitable mounting hardware
- Drill and screwdriver
- Measuring tape
- Spirit level
- Screws and appropriate wall anchors
- Sandpaper
- Wood stain or clear wood finish
Step 1: Measure your wall
Choose the location and decide how many shelves you want. Mark the positions and check the spacing before drilling.
Step 2: Prepare the wood
Sand the wooden board until the surface and edges are smooth. Apply your preferred wood stain or finish and allow it to dry.
Step 3: Mark the mounting points
Use a measuring tape and level to mark where the brackets will go. Check the wall type and locate studs where possible.
Step 4: Install the brackets
Secure the brackets using suitable screws and anchors for your wall. Follow the hardware manufacturer's instructions.
Step 5: Attach and style
Place the shelf onto its supports and secure it as directed. Style it with books, small plants, ceramic vases, and framed artwork.
DESIGNER TIP:
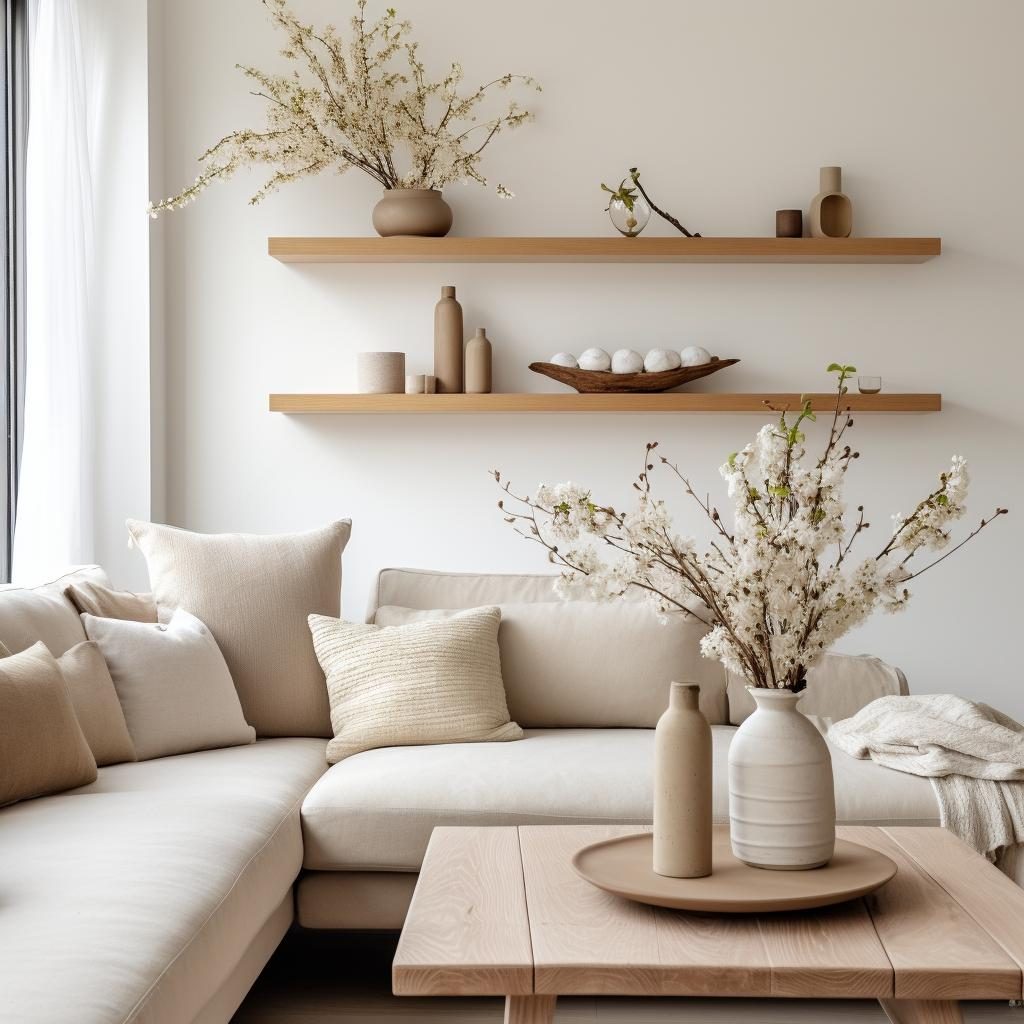
Use natural oak or walnut tones against a warm white or beige wall. Leave some empty space between decorative objects so the shelves look curated, not cluttered.
Would you add these shelves to your living room or bedroom?
Save this idea for your next home makeover and share it with someone who loves practical DIY decor.
Send to a friend
Make someone's day with a card, a note or a quick message.
Send to a friend
Make someone's day with a card, a note or a quick message.
Send this to a friend
Make their day with a beautiful card and a note from you.