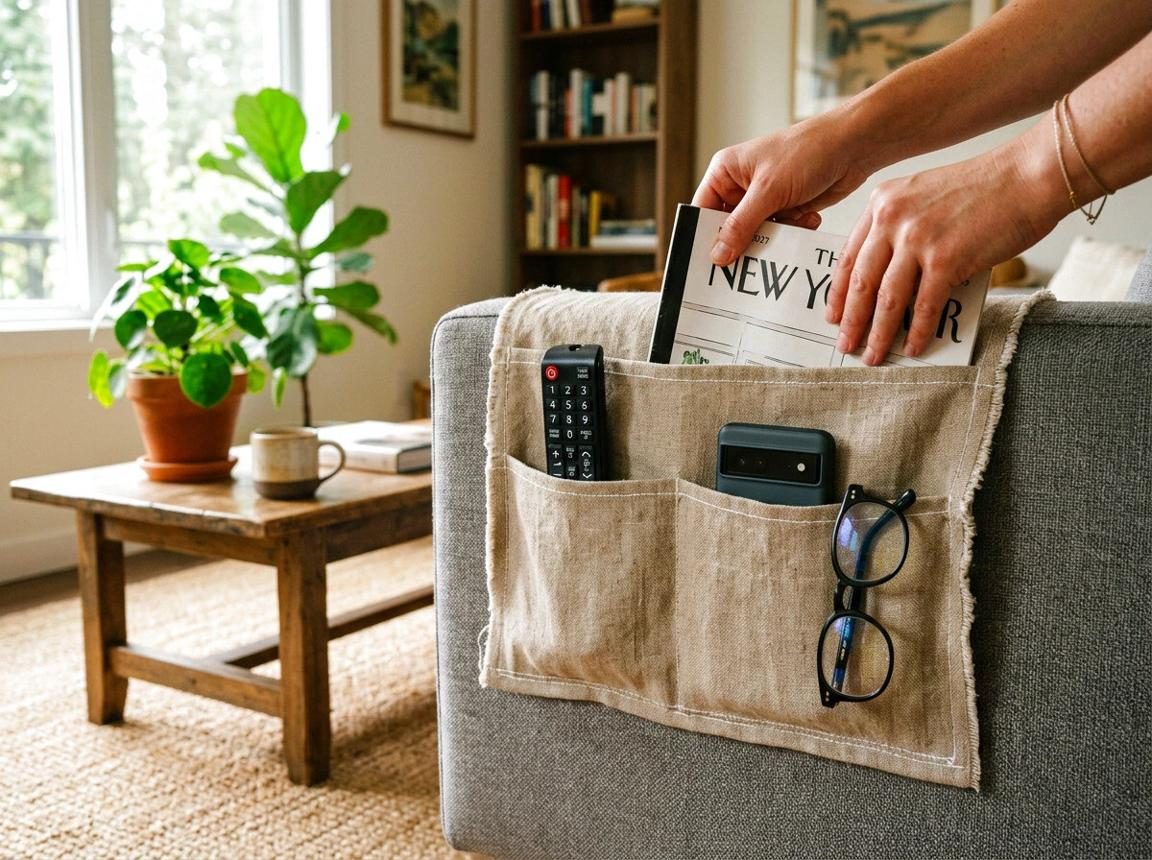




MAKE YOUR SOFA MORE USEFUL WITH THIS SIMPLE DIY!
Mothers spend so much time managing little things around the house. Make relaxing moments easier with a handmade sofa organizer that keeps your everyday essentials close instead of scattered around the living room.
DIY FABRIC SOFA ARMREST ORGANIZER
What you'll need:
- Cotton, canvas, or linen fabric
- Fabric for the pocket sections
- Sewing machine or needle and thread
- Measuring tape and ruler
- Fabric scissors
- Pins or sewing clips
- Iron
- Optional batting or interfacing for extra structure
Step 1: Measure your sofa
Measure the width of the armrest and how far you want the organizer to hang on both sides. Add extra fabric for seams.
Step 2: Cut the main fabric
Cut two matching long fabric pieces for the main body. Make sure the length is enough to go over the armrest and hang down securely.
Step 3: Prepare the pockets
Cut smaller fabric pieces for your pockets. Fold and stitch the top edges to create neat openings.
Step 4: Attach the pockets
Position the pockets on the outer hanging section. Sew along the bottom and sides, then add vertical stitches to create separate compartments.
Step 5: Assemble the organizer
Place the main fabric pieces together, sew around the edges, and turn the fabric right side out. Add batting or interfacing if you want a sturdier finish.
Step 6: Finish and secure
Topstitch the edges and press the fabric. Drape the organizer over your sofa arm and tuck the inner section between the seat and cushion if needed.
DESIGNER TIP:
Use neutral linen, beige cotton, or soft floral fabric. Make different pocket sizes for phones, remotes, glasses, and notebooks.
A small organizer can make everyday life a little easier.
Would you make one for your living room or bedroom? Save this project and share it with a mother who loves useful DIY crafts.