Turn Empty Jars Into Aesthetic Storage Containers

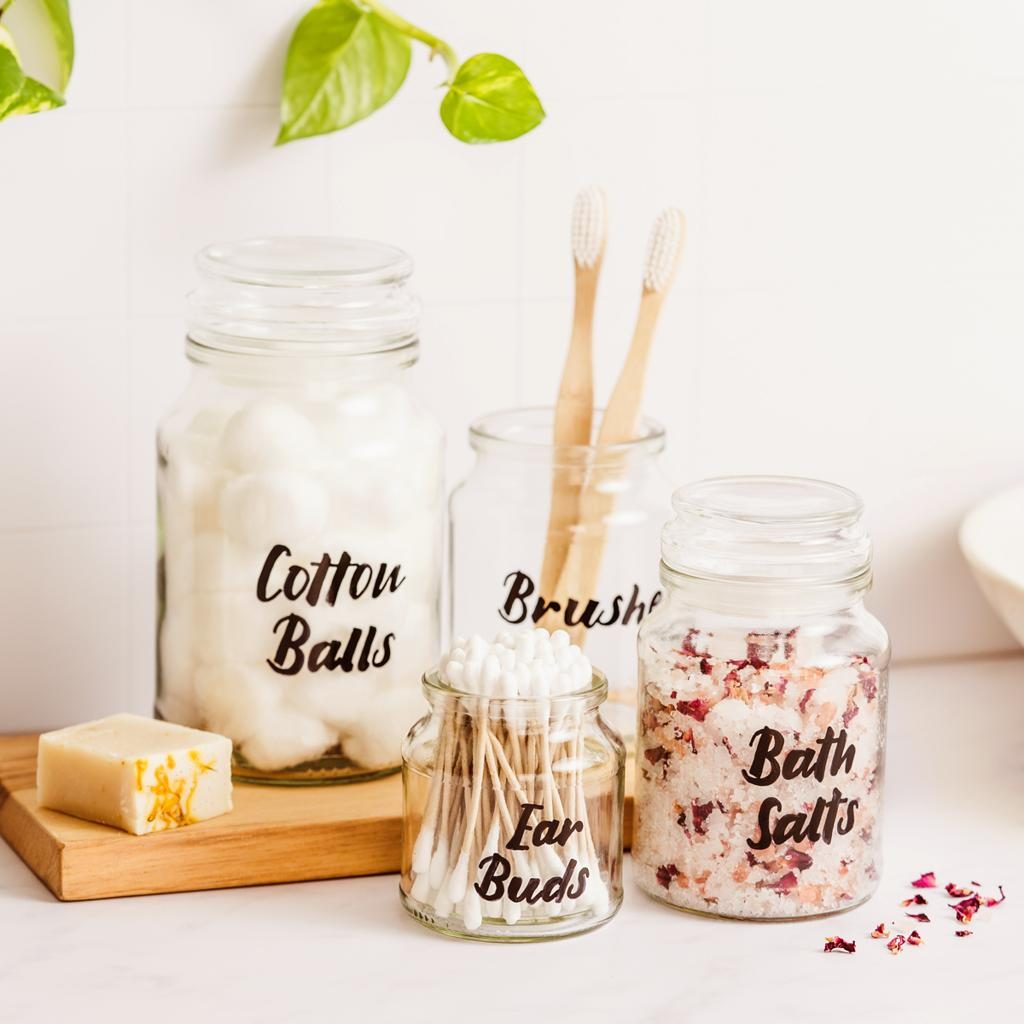
DIY AESTHETIC GLASS JAR ORGANIZERS
Give empty glass jars a second life by turning them into beautiful storage containers. This simple project is perfect for organizing kitchen ingredients, cotton pads, makeup brushes, stationery, and other small household essentials.
Materials
- 3–5 clean, empty glass jars
- Acrylic paint or spray paint
- Decorative labels or sticker paper
- Paintbrush
- Rubbing alcohol
- Optional: twine, ribbon, or wooden lids
Step-by-step instructions
- Clean the jars. Remove the original labels and adhesive. Wash the jars thoroughly, dry them, and wipe the outside with rubbing alcohol to remove remaining residue.
- Choose your design. Decide whether you want a minimalist white finish, warm neutral colors, or a transparent glass look.
- Paint the lids. Apply acrylic paint or suitable spray paint to the lids. Allow each coat to dry before adding another.
- Create your labels. Write the contents on sticker paper or print simple labels. Keep the lettering consistent for a coordinated appearance.
- Decorate the jars. Add twine around the neck or attach small decorative details if desired.
- Arrange and organize. Use the finished jars to store dry kitchen ingredients, bathroom accessories, or craft supplies.
Estimated project time: 30–60 minutes, excluding drying time.
Design tip: Use matching labels and neutral colors to create a coordinated, minimalist storage collection.
Important: Keep painted surfaces and decorative materials away from areas that touch food. Use jars intended for food storage, and ensure they are completely clean and dry.
Send to a friend
Make someone's day with a card, a note or a quick message.
Send to a friend
Make someone's day with a card, a note or a quick message.
Send this to a friend
Make their day with a beautiful card and a note from you.