BEST OFJumeirah Lake Towers
Dubai, United Arab Emirates
The best places to eat, drink, shop and explore, chosen by real people like you.
Community in Jumeirah Lake Towers
Ask the people who know Jumeirah Lake Towers, and join what everyone is talking about.
Audience:
In Jumeirah Lake Towers
Global
All of CommunitiesWhat people everywhere are asking, sharing and debating.
Home & DIYGuideRein1m ago
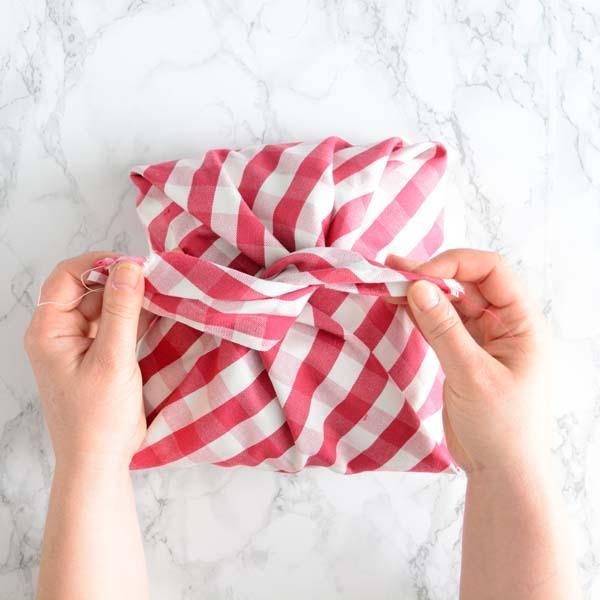
Make A No-Sew Cushion CoverDiy no-sew cushion cover Want to refresh your sofa or bedroom without buying new pillows? Make your own cushion covers using inexpensive fabric and a simple folding technique. No sewing machine is required. Materials • Fabric large enough to wrap around your cushion • Existing cushion insert • Fabric scissors • Measuring tape • Fabric chalk or washable marker • Iron, optional Step-by-step instructions 1. Measure your cushion. Measure its width and height. Choose a fabric piece large enough to wrap around the cushion with extra material for overlapping and securing the back. 2. Prepare the fabric. Wash and iron it if needed. Place it flat on a clean surface with the decorative side facing down. 3. Position the cushion. Place your cushion in the center of the fabric. 4. Fold the fabric. Bring the top and bottom edges over the cushion. Fold the raw edges inward to create a cleaner finish. 5. Secure the sides. Fold the remaining side flaps over one another behind the cushion. Tie the fabric ends together securely or use fabric-safe fastening tape to hold the overlap in place. 6. Adjust the shape. Turn the cushion over and arrange the fabric so the front looks smooth and the folds are hidden. 7. Style your space. Combine different fabric colors and textures to create a coordinated sofa or bedroom look. Estimated project time: 20–40 minutes. Design tip: Choose linen-look fabric, cotton, or textured neutral materials for a cozy and sophisticated appearance. Important: This is a decorative cover, not a permanently secured sewn cover. Check the fastening before use, especially around children and pets. Avoid loose ties that could become entanglement hazards.
Home & DIYGuideRein1m ago
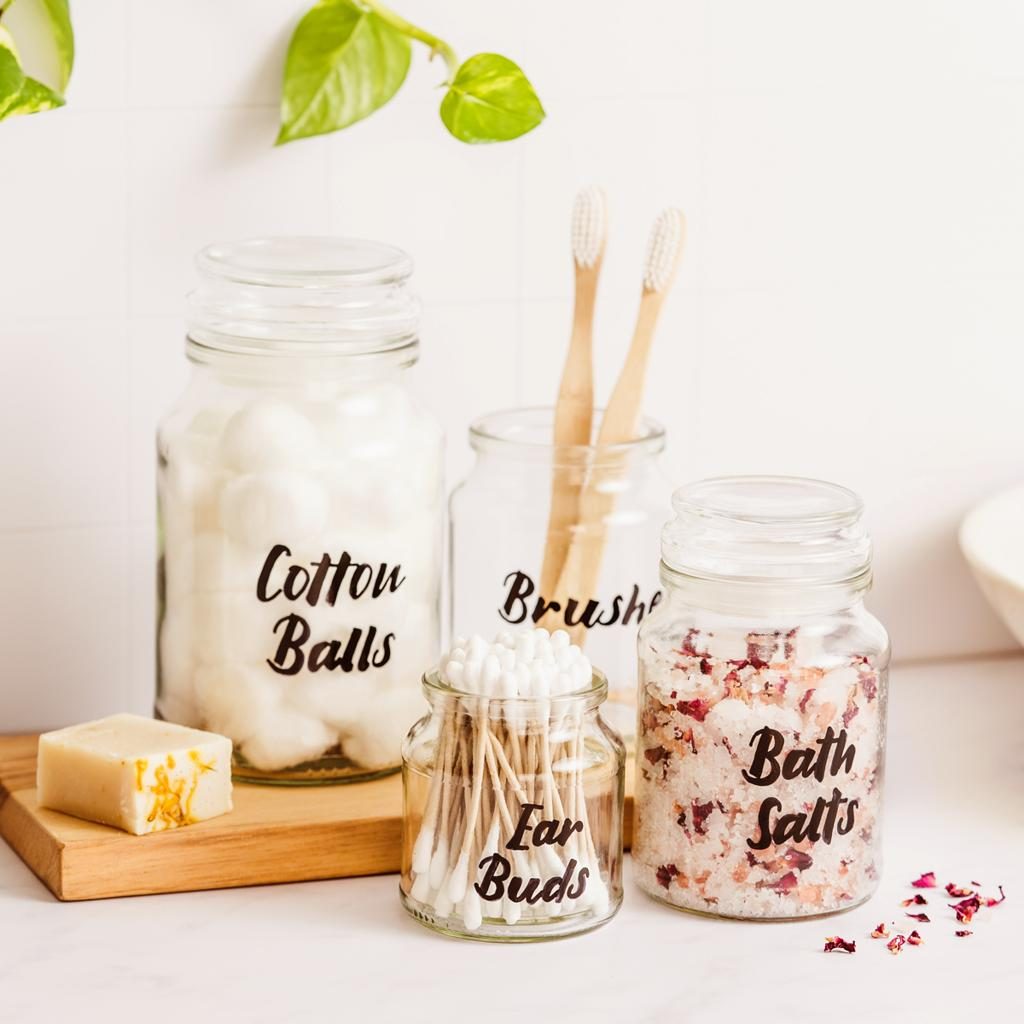
Turn Empty Jars Into Aesthetic Storage ContainersDiy aesthetic glass jar organizers Give empty glass jars a second life by turning them into beautiful storage containers. This simple project is perfect for organizing kitchen ingredients, cotton pads, makeup brushes, stationery, and other small household essentials. Materials • 3–5 clean, empty glass jars • Acrylic paint or spray paint • Decorative labels or sticker paper • Paintbrush • Rubbing alcohol • Optional: twine, ribbon, or wooden lids Step-by-step instructions 1. Clean the jars. Remove the original labels and adhesive. Wash the jars thoroughly, dry them, and wipe the outside with rubbing alcohol to remove remaining residue. 2. Choose your design. Decide whether you want a minimalist white finish, warm neutral colors, or a transparent glass look. 3. Paint the lids. Apply acrylic paint or suitable spray paint to the lids. Allow each coat to dry before adding another. 4. Create your labels. Write the contents on sticker paper or print simple labels. Keep the lettering consistent for a coordinated appearance. 5. Decorate the jars. Add twine around the neck or attach small decorative details if desired. 6. Arrange and organize. Use the finished jars to store dry kitchen ingredients, bathroom accessories, or craft supplies. Estimated project time: 30–60 minutes, excluding drying time. Design tip: Use matching labels and neutral colors to create a coordinated, minimalist storage collection. Important: Keep painted surfaces and decorative materials away from areas that touch food. Use jars intended for food storage, and ensure they are completely clean and dry.
Style & BeautyGuideRein1m ago
Turn Empty Jars Into Aesthetic Storage ContainersDiy aesthetic glass jar organizers Give empty glass jars a second life by turning them into beautiful storage containers. This simple project is perfect for organizing kitchen ingredients, cotton pads, makeup brushes, stationery, and other small household essentials. Materials • 3–5 clean, empty glass jars • Acrylic paint or spray paint • Decorative labels or sticker paper • Paintbrush • Rubbing alcohol • Optional: twine, ribbon, or wooden lids Step-by-step instructions 1. Clean the jars. Remove the original labels and adhesive. Wash the jars thoroughly, dry them, and wipe the outside with rubbing alcohol to remove remaining residue. 2. Choose your design. Decide whether you want a minimalist white finish, warm neutral colors, or a transparent glass look. 3. Paint the lids. Apply acrylic paint or suitable spray paint to the lids. Allow each coat to dry before adding another. 4. Create your labels. Write the contents on sticker paper or print simple labels. Keep the lettering consistent for a coordinated appearance. 5. Decorate the jars. Add twine around the neck or attach small decorative details if desired. 6. Arrange and organize. Use the finished jars to store dry kitchen ingredients, bathroom accessories, or craft supplies. Estimated project time: 30–60 minutes, excluding drying time. Design tip: Use matching labels and neutral colors to create a coordinated, minimalist storage collection. Important: Keep painted surfaces and decorative materials away from areas that touch food. Use jars intended for food storage, and ensure they are completely clean and dry.

Travel & PlacesFindRein6m ago
Lakes That Build Their Own WaterfallsHidden among the forests of Croatia is a remarkable landscape where lakes, waterfalls, and natural limestone barriers continuously shape one another. Plitvice Lakes National Park contains 16 named lakes connected by a series of waterfalls and cascading streams. Their brilliant colors range from turquoise and emerald green to deep blue, depending on the minerals, organisms, sunlight, and water conditions. What makes this place especially fascinating is how its lakes were formed. Water flowing over limestone and other mineral-rich rock deposits calcium carbonate, creating natural barriers known as tufa or travertine. Over thousands of years, these barriers have gradually developed into natural dams that hold back water and create new lakes and waterfalls. And the process has not stopped. These mineral formations continue to grow and change, meaning the landscape is constantly evolving. Visitors can explore wooden walkways, forest trails, viewpoints, and waterfalls while discovering one of Europe’s most extraordinary natural environments. Where: Plitvice Lakes National Park, Croatia. Worth knowing: The park is a UNESCO World Heritage Site. Visitors should stay on designated paths and avoid touching or disturbing the delicate natural barriers.
Travel & PlacesRecommendationRein9m ago
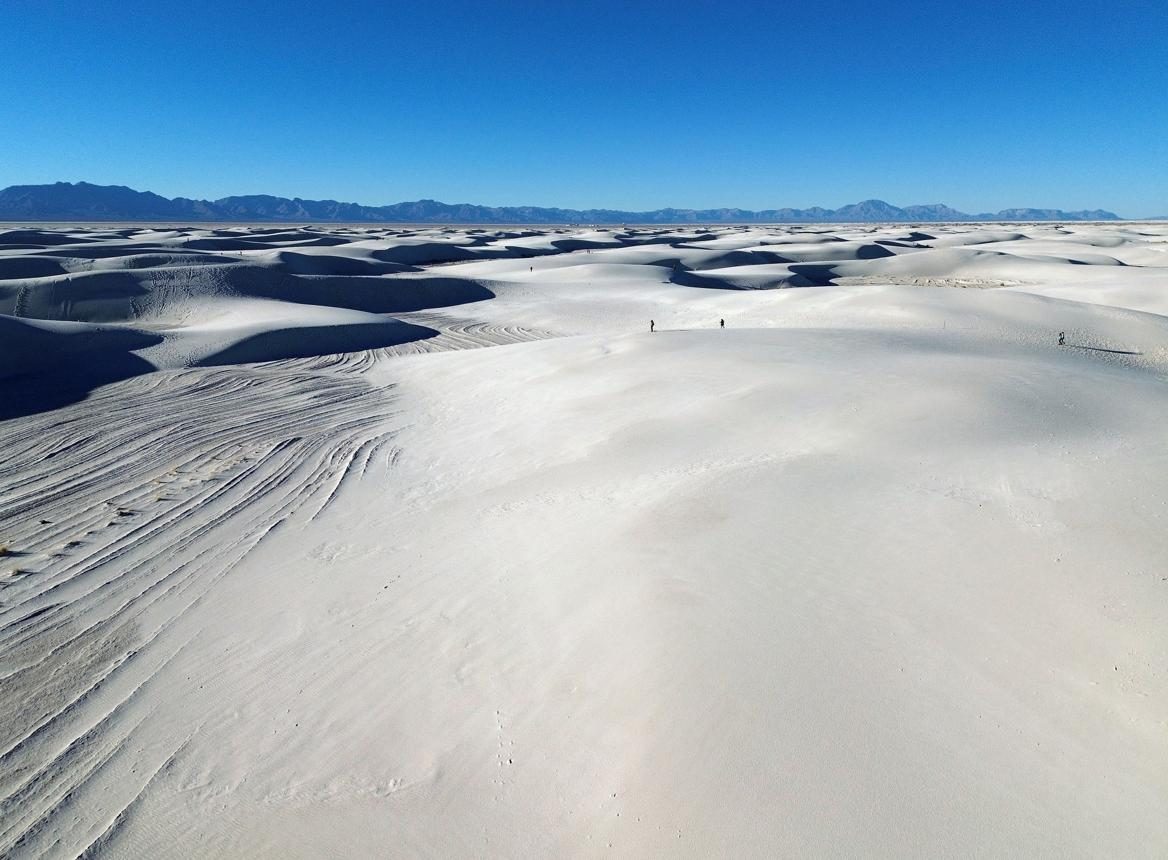
A Desert Made From Pure White GypsumAt first glance, White Sands National Park in New Mexico looks like an endless desert covered in snow. But those brilliant white dunes are not made of ordinary beach sand. They are made from gypsum, a mineral rarely found in the form of sand. The enormous dune field stretches across approximately 275 square miles, making it the world’s largest gypsum dune field. Its story began millions of years ago when an ancient sea covered the region. Over time, geological changes left behind large deposits of gypsum. Water and erosion gradually broke down these deposits into crystals, which were eventually carried and shaped by the wind into the dunes seen today. Unlike ordinary quartz sand, gypsum sand does not absorb as much heat from sunlight. This helps explain why the surface can remain relatively comfortable to walk on even under strong sunshine. Visitors can hike across the dunes, take photographs, enjoy the unusual landscape, and watch the changing shadows during sunset. Where: White Sands National Park, New Mexico, United States. Worth knowing: The park protects part of the larger gypsum dune field. Bring drinking water, check park access before visiting, and follow safety guidance when exploring the dunes.
Travel & PlacesRecommendationRein11m ago
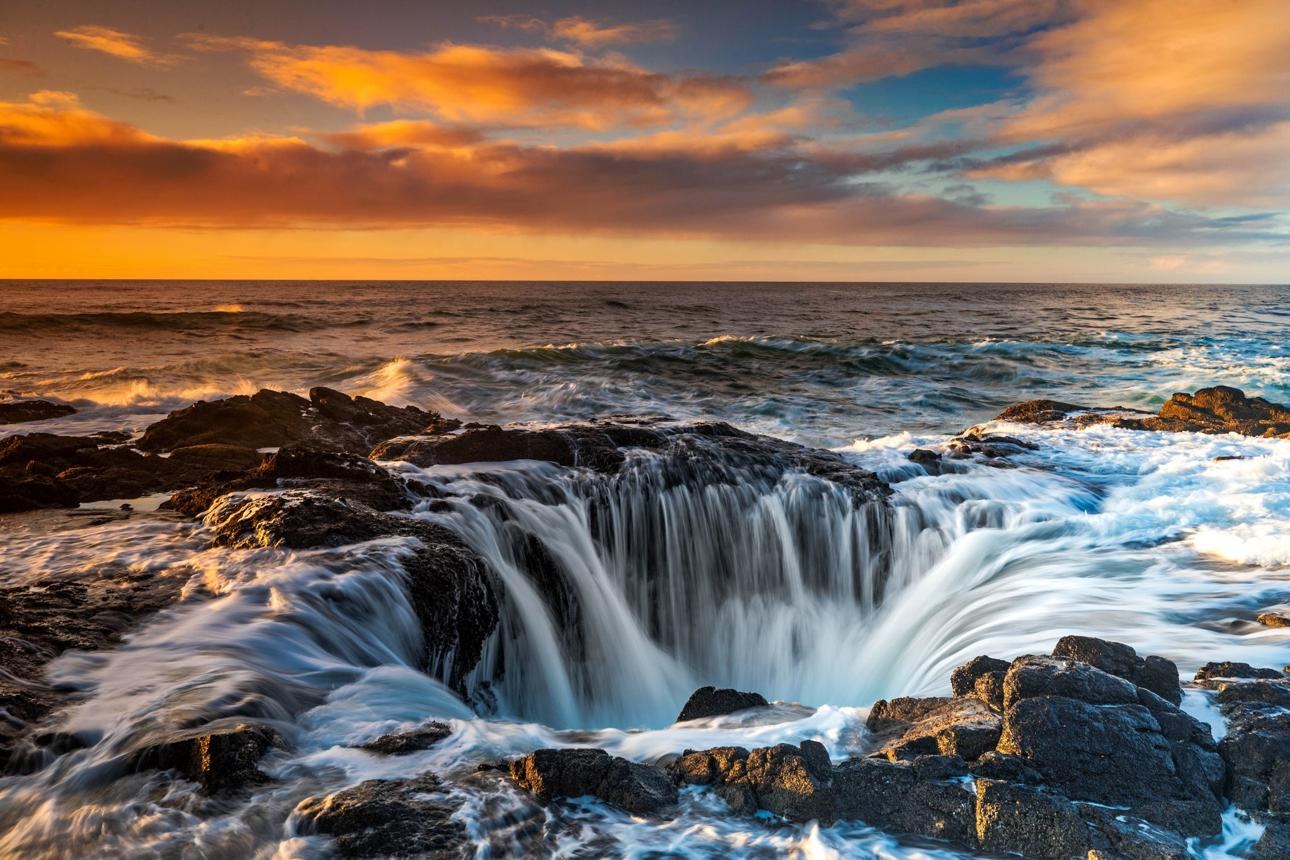
A Giant Ocean Drain That Never EmptiesAlong the rugged Oregon coastline in the United States, there is a dramatic ocean formation that looks like a giant hole swallowing the sea. Known as Thor’s Well, this natural feature is located near Cape Perpetua. During certain tidal conditions, waves rush into the opening, disappear below the surface, and then forcefully erupt upward as the next waves arrive. The spectacle creates the illusion of an enormous ocean drain that never fills up. However, it is not a bottomless hole. It is a coastal opening in the rocky shoreline where the movement of waves and changing water levels create the dramatic effect. The most impressive views often occur around high tide, when incoming waves repeatedly surge through the opening. Where: Cape Perpetua Scenic Area, near Yachats, Oregon, United States. Worth knowing: This is a dangerous coastline. Sneaker waves and powerful surf can sweep people off the rocks. Observe Thor’s Well from a safe viewpoint, never from the slippery edge.