Create A Reusable Weekly Desk Planner

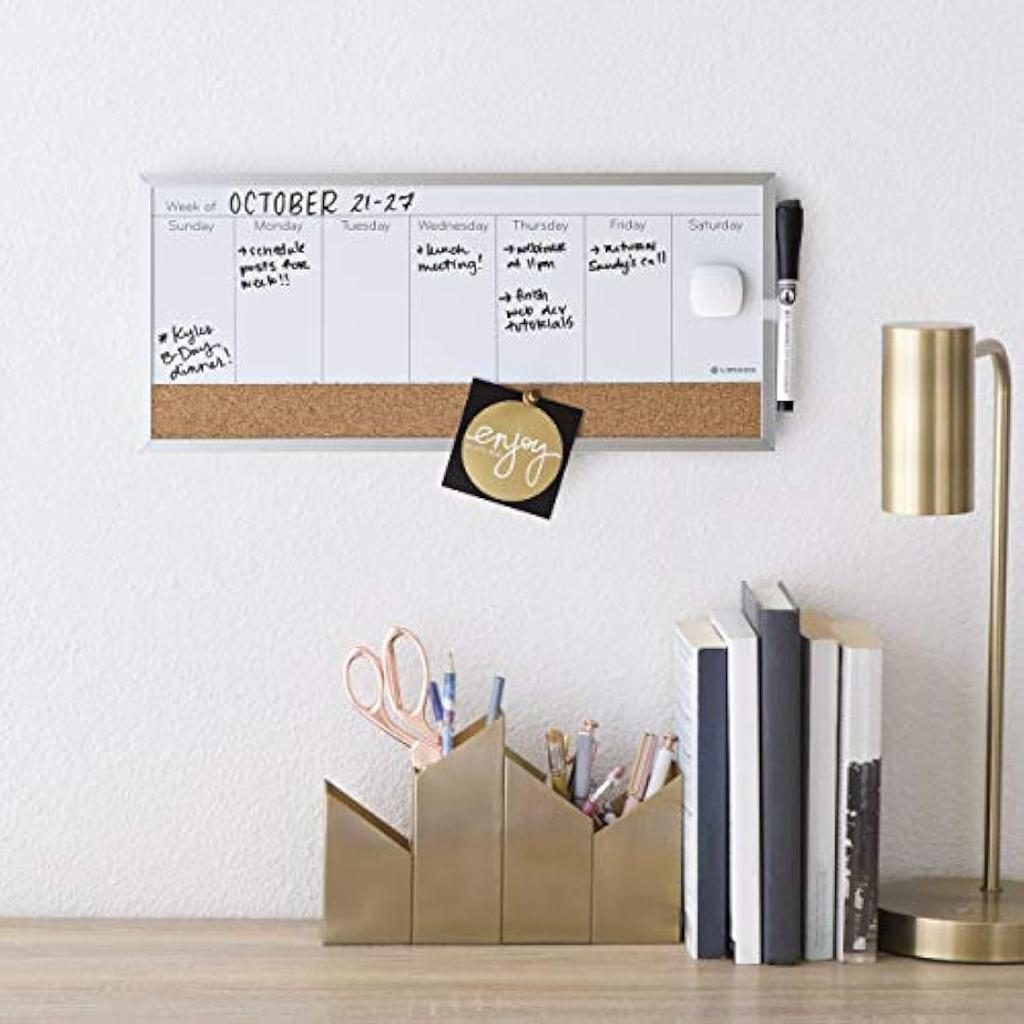
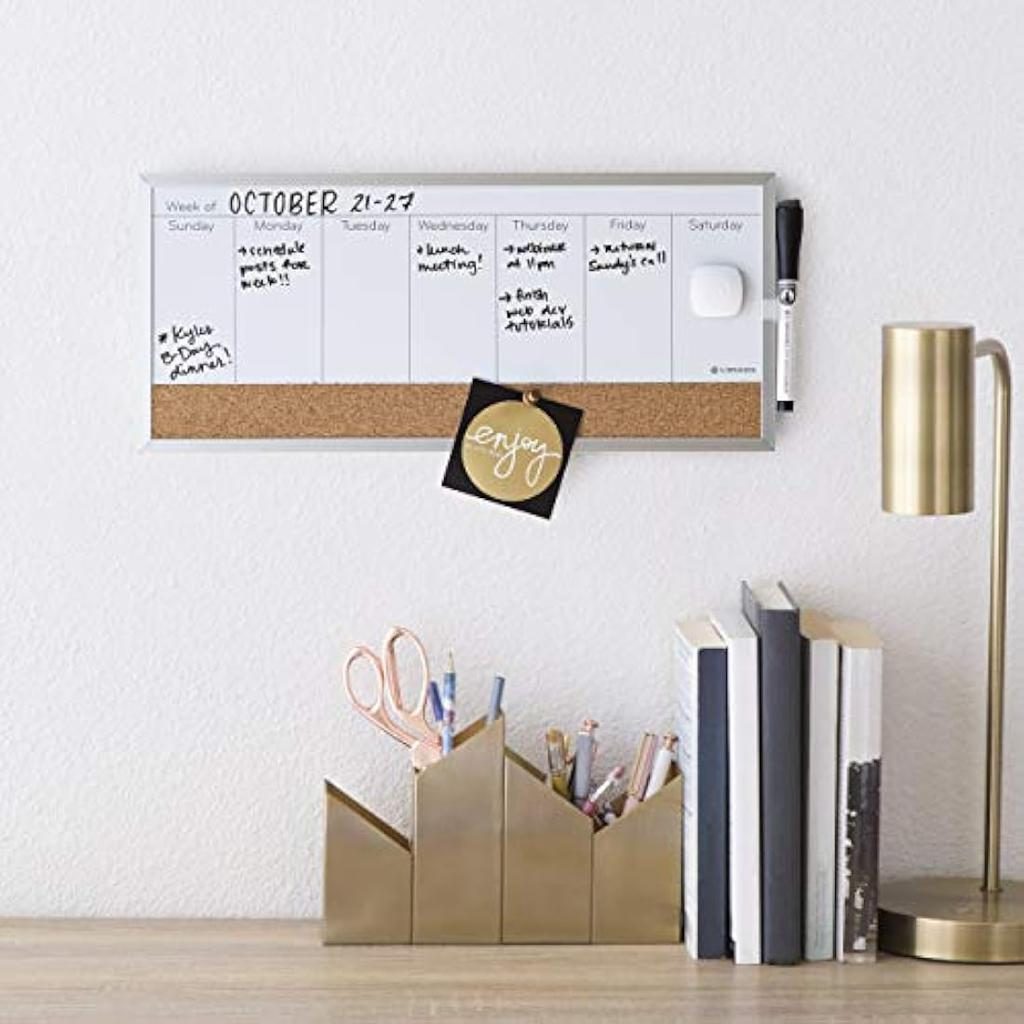
STOP KEEPING YOUR ENTIRE WEEK IN YOUR HEAD.
Deadlines, meetings, errands and personal responsibilities can quickly become difficult to manage. A reusable weekly desk planner gives you one visible place to organize your priorities without constantly buying new paper planners.
You can make one using a picture frame, a printed weekly layout and a dry-erase marker. It works well for office desks, home workstations and shared family spaces.
WHAT YOU'LL NEED
- One picture frame with a glass or clear acrylic front
- White paper or light-colored cardstock
- A printed weekly planner template, or plain paper
- Ruler
- Pencil
- Black fine-tip permanent marker
- Dry-erase marker
- Microfiber cloth
- Scissors or paper cutter
- Optional: colored paper for a border or background
STEP-BY-STEP INSTRUCTIONS
- Choose your frame size
Select a frame that fits your available desk or wall space. An A4-sized frame is a practical starting point for a personal weekly planner.
Make sure the front panel is glass or a surface specifically compatible with dry-erase markers.
- Prepare the weekly layout
Remove the backing and measure the visible area. On your paper, create seven columns for Monday through Sunday. Add a separate section at the bottom or side for important tasks and notes.
You can also create smaller sections for:
- Work deadlines
- Meetings and appointments
- Personal errands
- Top three priorities
- Tasks to carry over
- Draw the planner grid
Use a ruler and pencil to mark the layout evenly. Make the day columns large enough to write short reminders. Once you are happy with the arrangement, trace the lines with a permanent marker.
Allow the ink to dry completely.
- Add a clean background
Place the finished planner sheet inside the frame. Use a simple white or cream background so handwritten notes remain easy to read.
Make sure the sheet sits flat and does not cover the visible writing area.
- Assemble the frame
Put the glass or acrylic panel back in place, followed by the printed planner sheet and frame backing. Close the frame securely.
- Test the dry-erase surface
Write a small test note on the front panel using a dry-erase marker. Leave it briefly, then wipe it off with a microfiber cloth.
If the marker does not erase cleanly, check that the surface is compatible with dry-erase markers before using it regularly.
- Create a simple weekly routine
At the beginning of each week, write down your fixed appointments and deadlines first. Then add your most important tasks and personal commitments.
Keep the daily entries short. Use the notes section for tasks that do not belong to a specific day.
- Reset the board
At the end of the week, review unfinished tasks and move only the relevant ones to the next week. Wipe the board clean and prepare the new schedule.
DESIGNER TIP
Use one marker color for work, another for personal commitments and a third for urgent deadlines. Keep the color system consistent so you can understand your schedule at a glance.
IMPORTANT
Use dry-erase markers only on a compatible glass or acrylic surface. Do not write directly on a printed paper insert with a permanent marker if you want to reuse the planner.
What would you put in your weekly planner first, meetings, deadlines or personal goals?
Save this DIY and make your workweek easier to manage.
Send to a friend
Make someone's day with a card, a note or a quick message.
Send to a friend
Make someone's day with a card, a note or a quick message.
Send this to a friend
Make their day with a beautiful card and a note from you.