




DIY PICTURE FRAME MOULDING ACCENT WALL
Want to make a plain wall look more elegant without changing your entire interior?
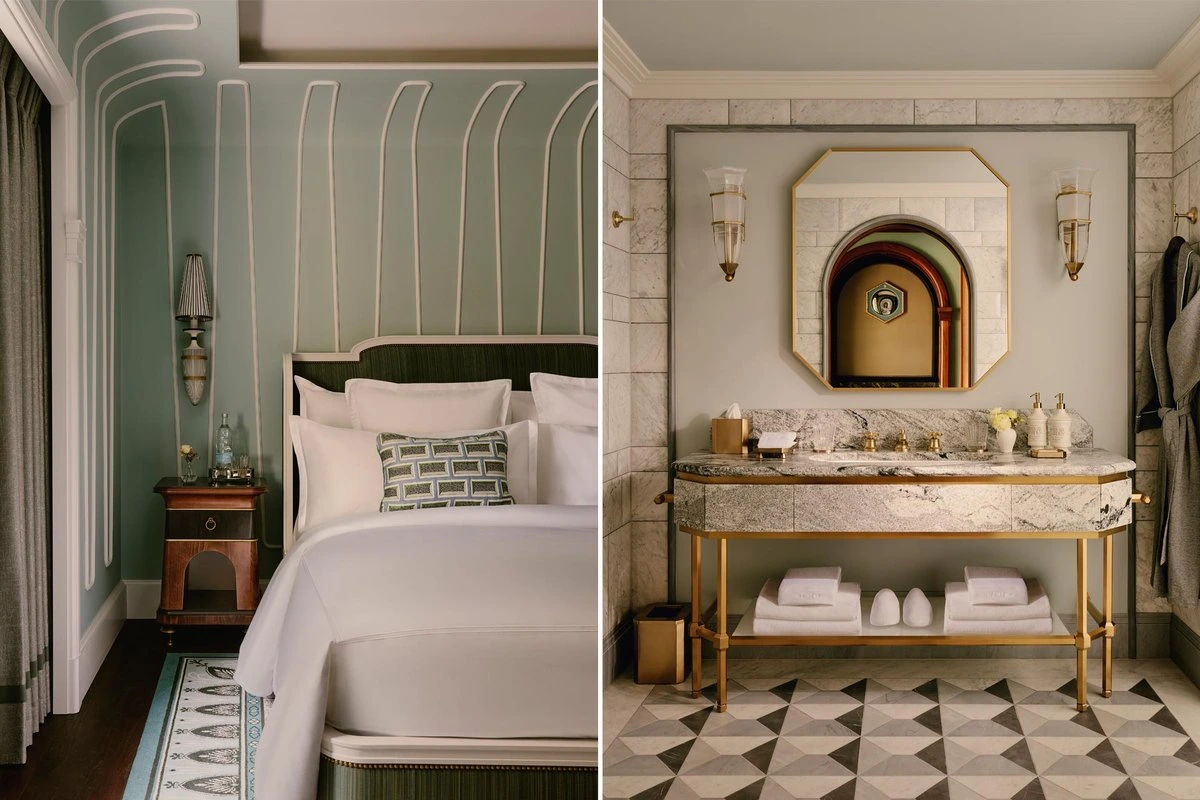
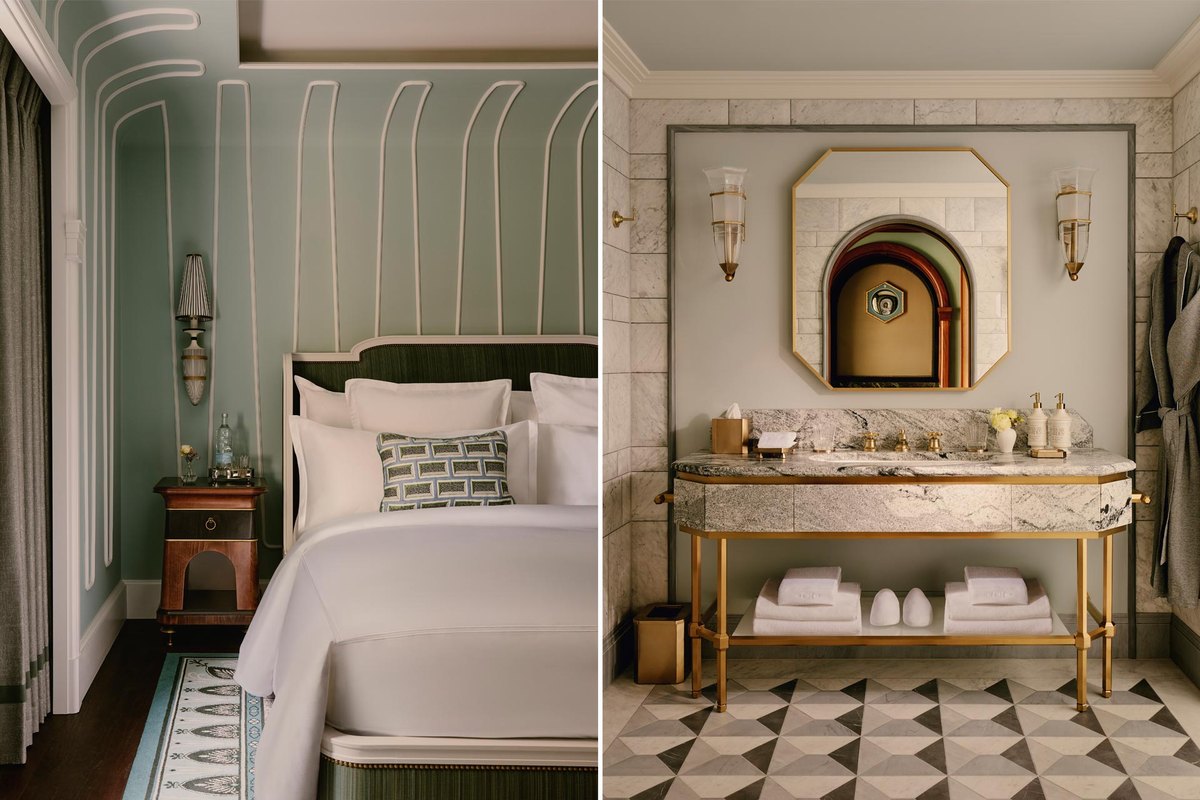
Picture frame moulding is a simple decorative technique that adds architectural detail and makes a room feel more polished.
Here's how to create your own:
- Choose your wall
Select a feature wall in your living room, bedroom, or dining area. Make sure the surface is clean, dry, and in good condition.
- Plan your panel layout
Measure the wall and decide how many rectangular frames you want. Keep the spacing consistent for a balanced appearance.
- Mark the design
Use painter's tape to outline the panels directly on the wall. Step back and check the proportions before installing anything.
- Prepare your moulding
Measure and cut your moulding pieces to size. Use appropriate cutting tools and wear eye protection.
- Attach the moulding
Apply suitable construction adhesive or use finishing nails according to the moulding material and wall surface. Check every piece with a level.
- Fill and seal the gaps
Use paintable caulk for small gaps along the edges and suitable filler for nail holes. Allow everything to dry before sanding.
- Paint the entire design
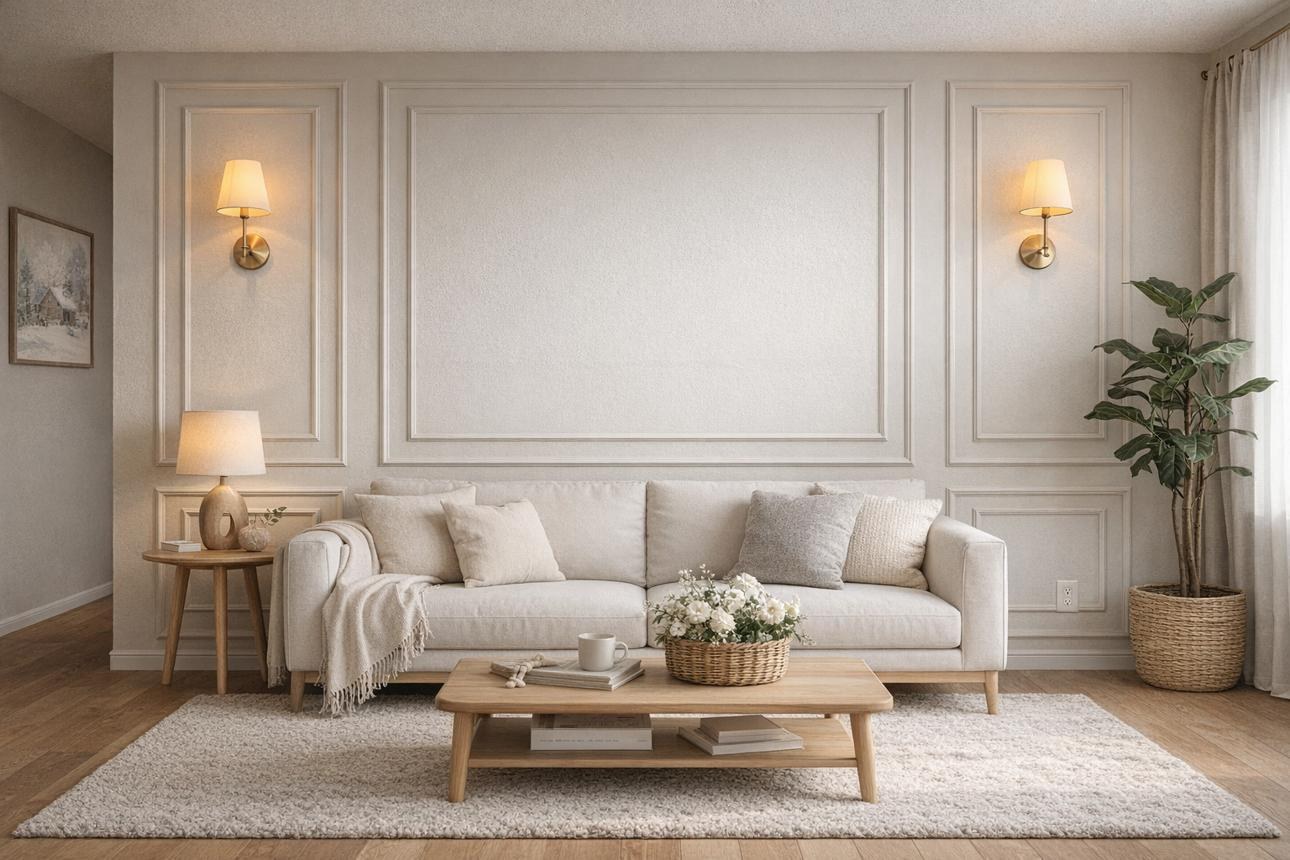
Choose a color that complements your room. Warm white, beige, soft gray, and muted green can create beautiful results.
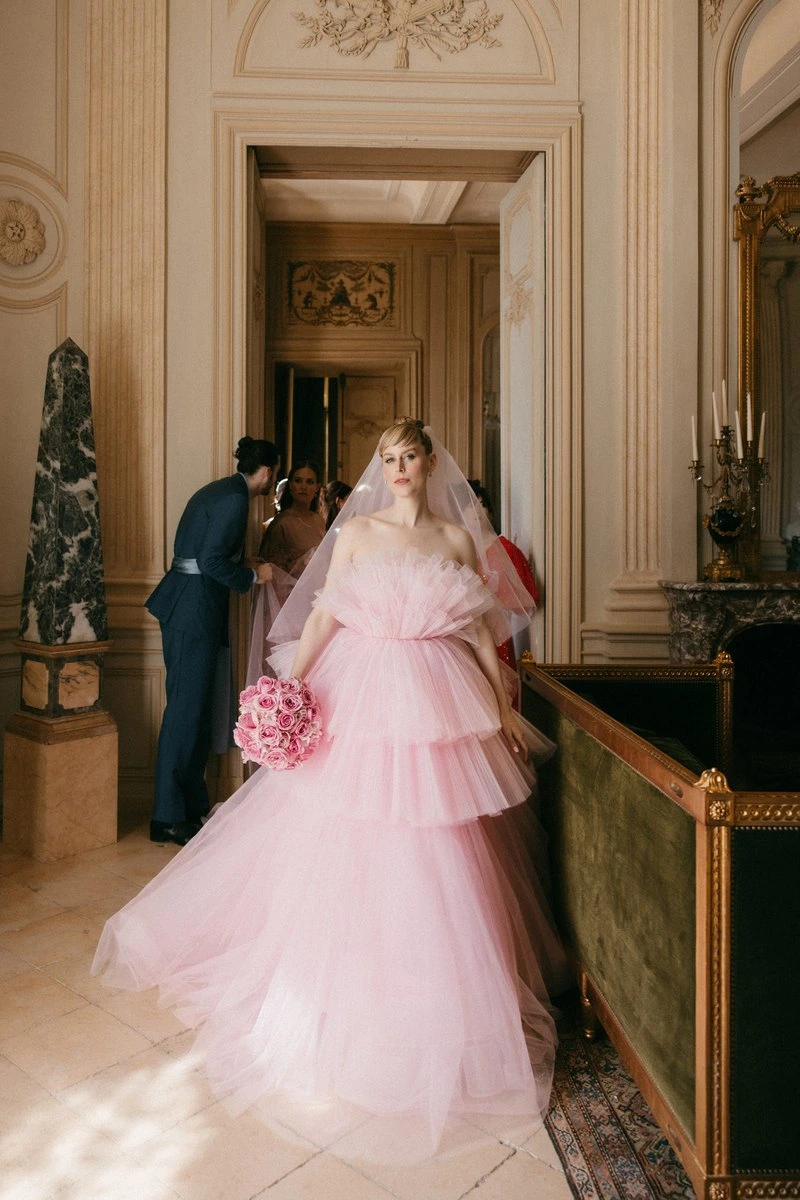
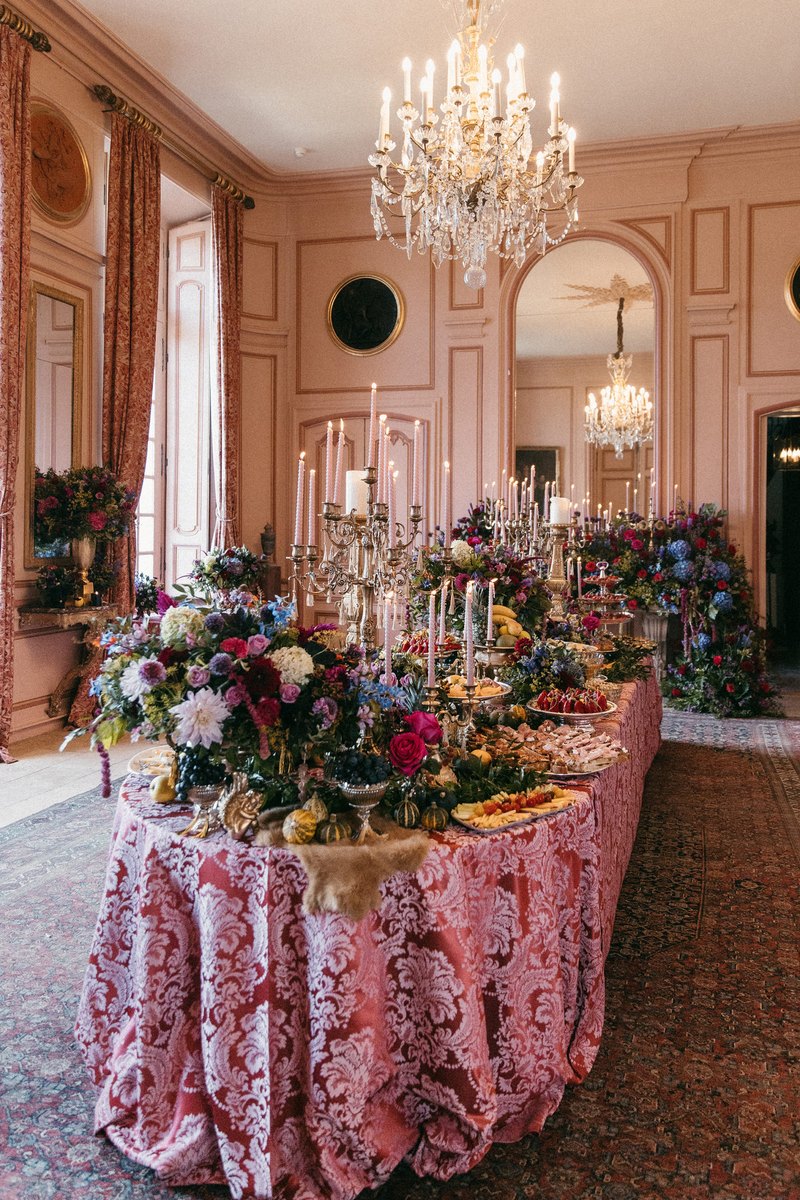
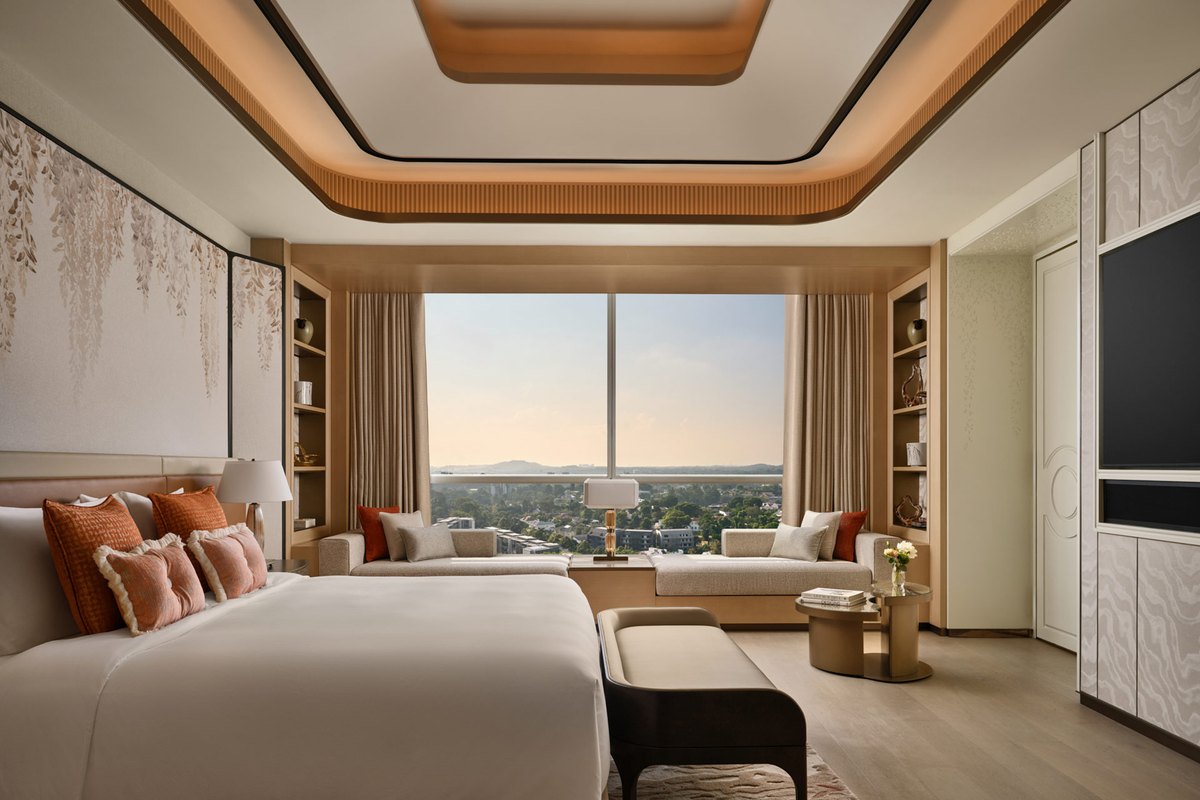
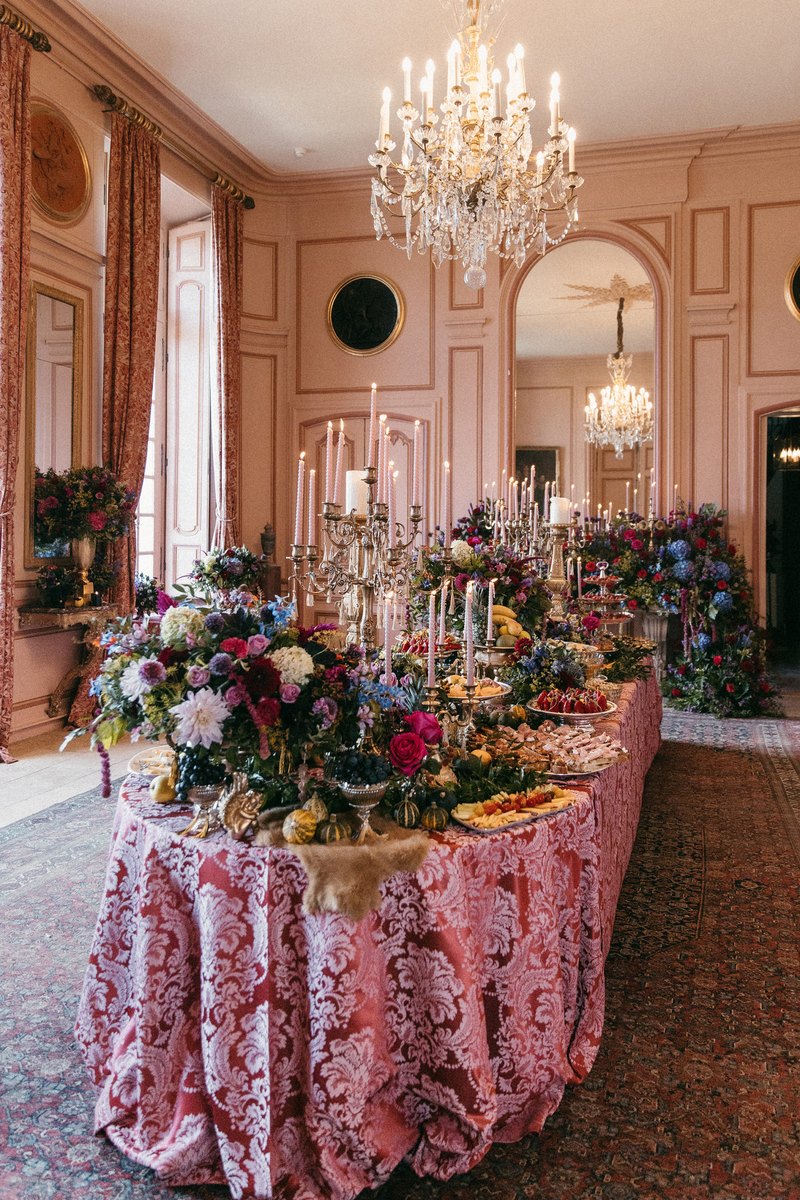
DESIGN TIP: For a luxurious European-inspired look, use symmetrical rectangular panels and paint the moulding the same color as the wall.
You can create a high-end interior look with simple materials, careful measurements, and a little patience.
QUESTION: Would you choose classic white moulding or a bold, dark accent wall?
Save this DIY idea for your next interior makeover!