

WHY BUY EXPENSIVE WALL ART WHEN YOU CAN CREATE YOUR OWN?
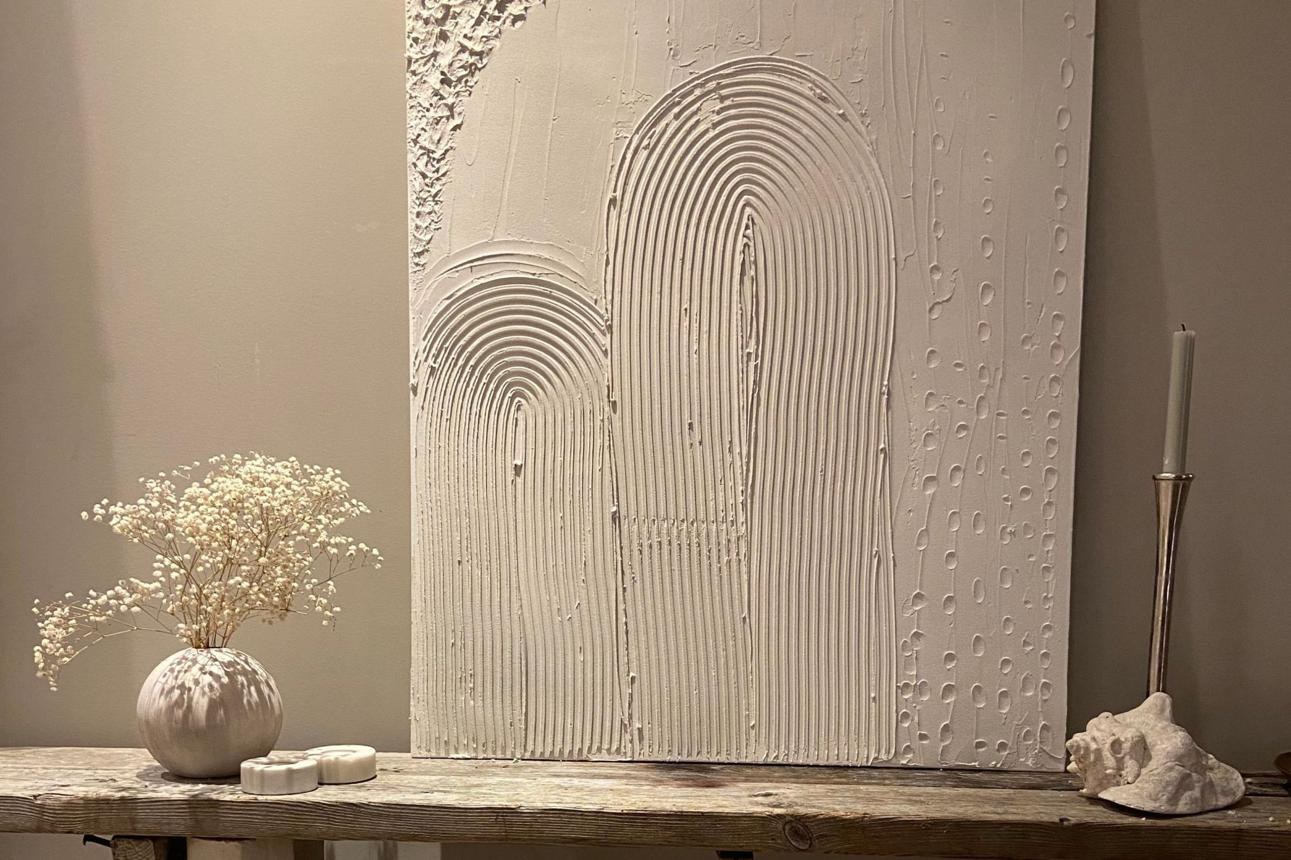
Give your walls a designer-inspired makeover with this simple textured canvas project. Using modeling paste or joint compound, you can create beautiful raised patterns that add depth and personality to any room.
DIY TEXTURED ABSTRACT WALL ART
What you'll need:
- Blank canvas or an old painting
- Modeling paste or suitable joint compound
- Palette knife or small putty knife
- Mixing bowl
- Acrylic paint in your preferred colors
- Paintbrush
- Sandpaper, optional
- Protective covering for your workspace
Step 1: Prepare your canvas
Place your canvas on a flat, protected surface. Make sure it is clean and dry before applying the texture.
Step 2: Plan your design
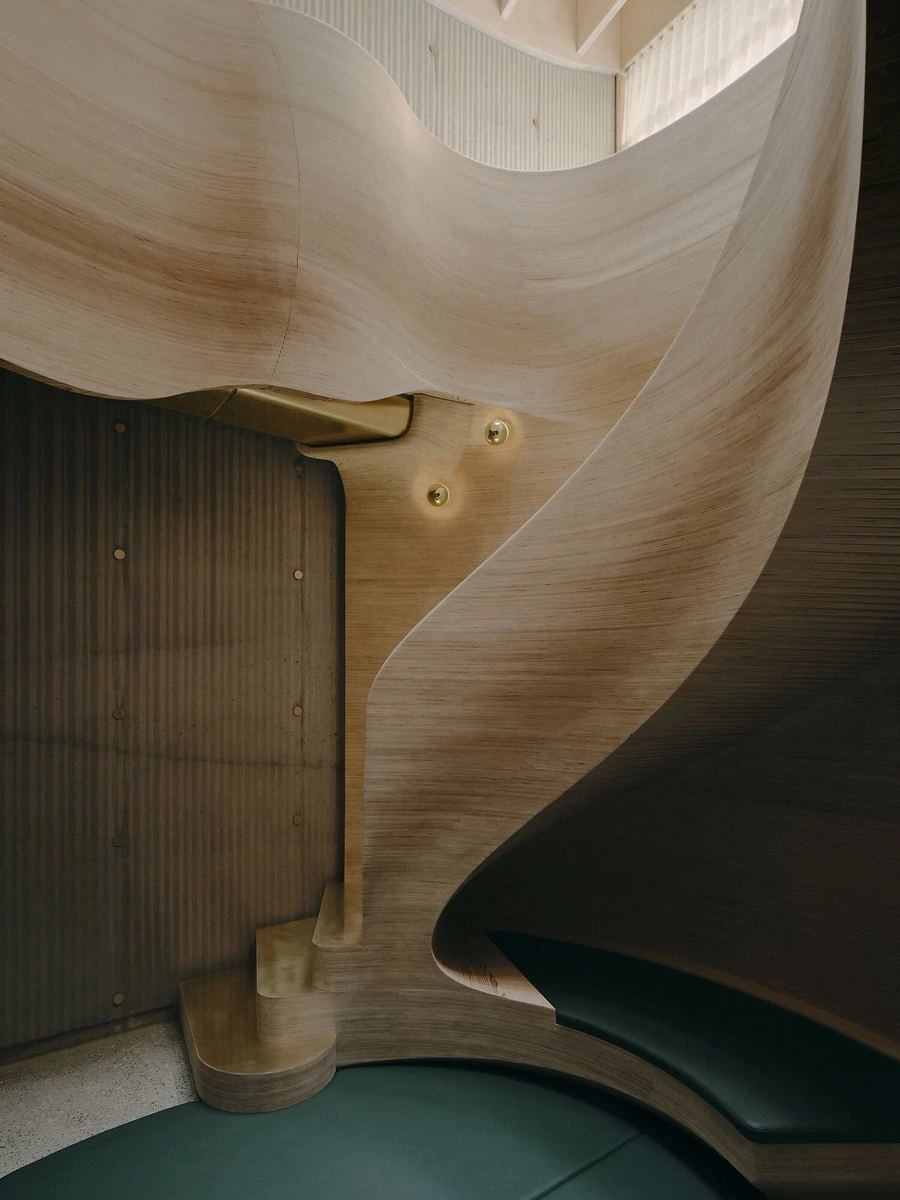
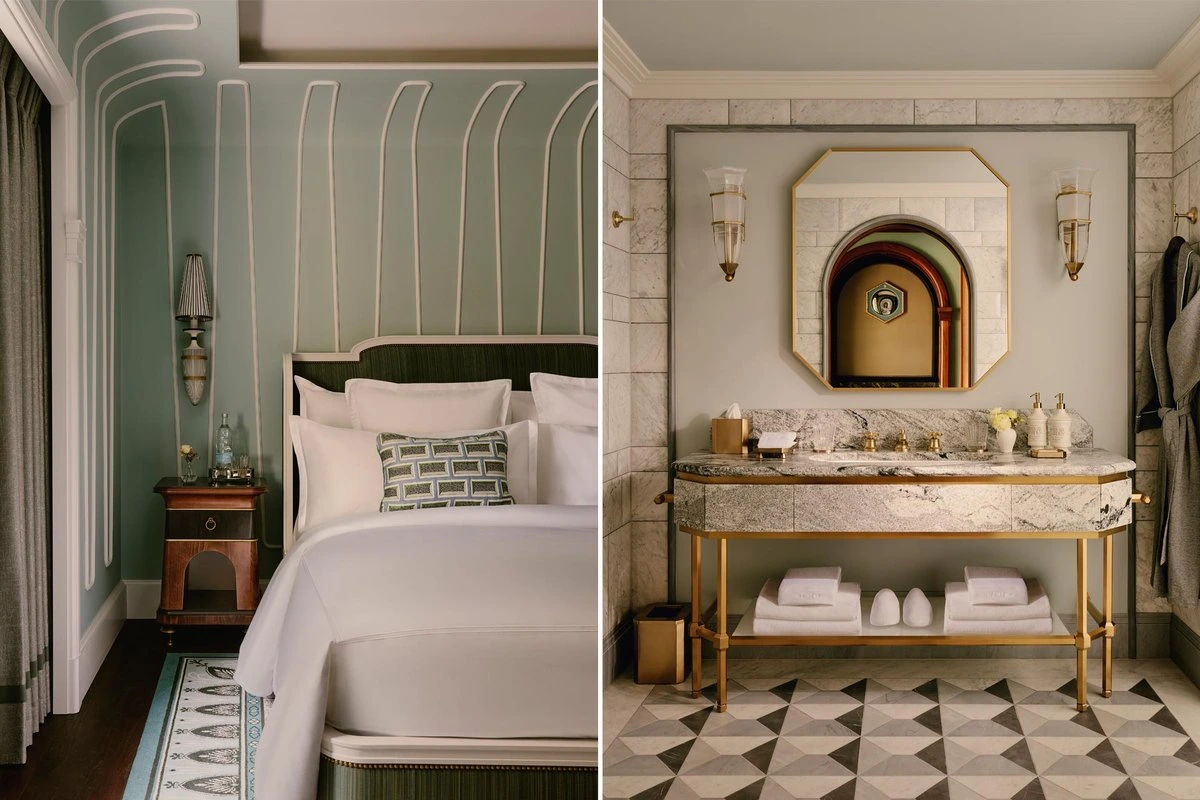
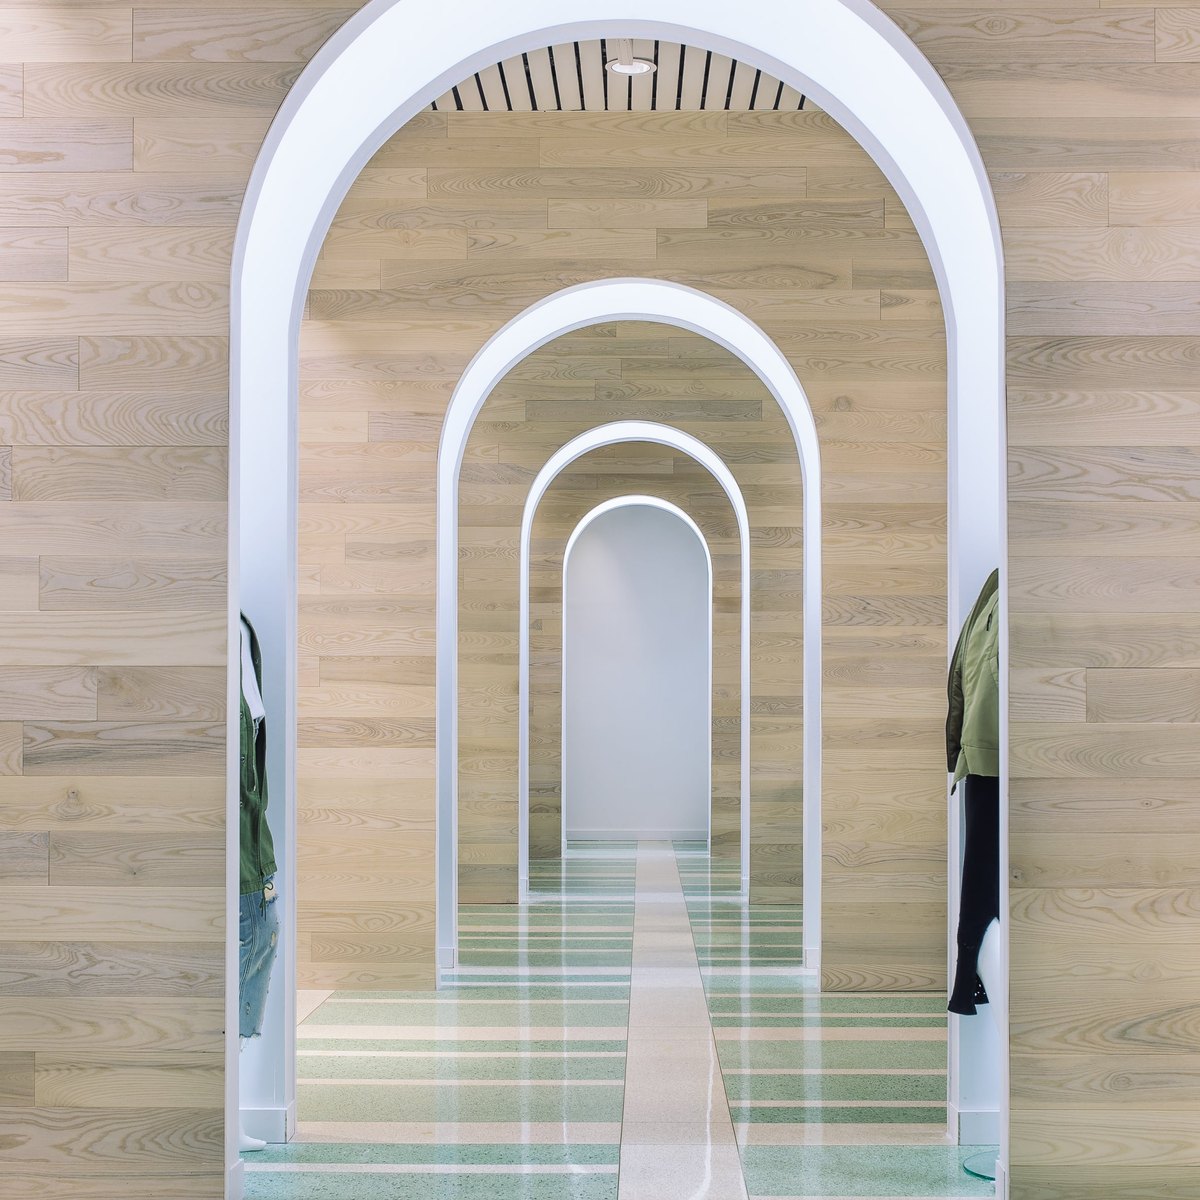
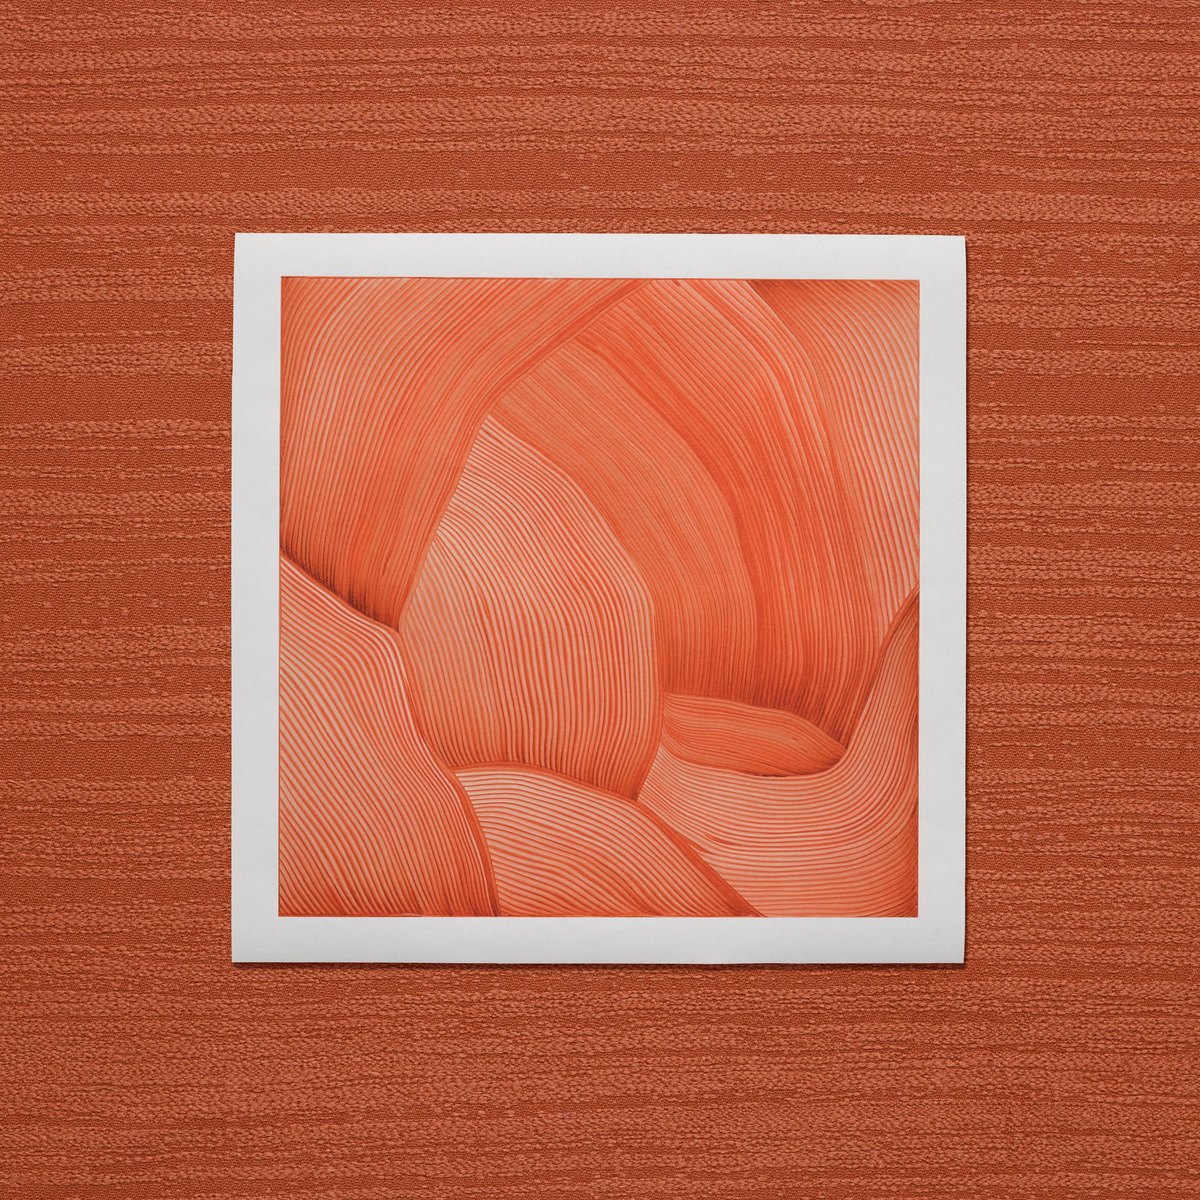
Sketch a simple idea using curved lines, arches, waves, or abstract shapes. Keep the design minimal for a modern interior look.
Step 3: Apply the texture
Use a palette knife to spread the modeling paste across the canvas. Create raised lines, curved patterns, or uneven organic shapes.
Step 4: Let it dry completely
Allow the material to dry according to the manufacturer's instructions. Thicker applications may need more time.
Step 5: Add your finishing color
Keep the artwork natural white, or paint it in warm beige, cream, terracotta, or soft brown. Apply paint only after the textured surface has dried.
Step 6: Display your artwork
Place it in a simple wooden frame or hang it above your sofa, bed, or console table.
DESIGNER TIP:
Create a pair of canvases with complementary patterns. Use the same color palette but different shapes to make the display feel intentional.
Would you hang this in your bedroom or living room?
Save this project for your next DIY weekend and share it with someone who loves handmade interiors.