DIY Wooden Slat Accent Wall



Give Your Plain Wall a Warm, Modern Makeover
What Is It?
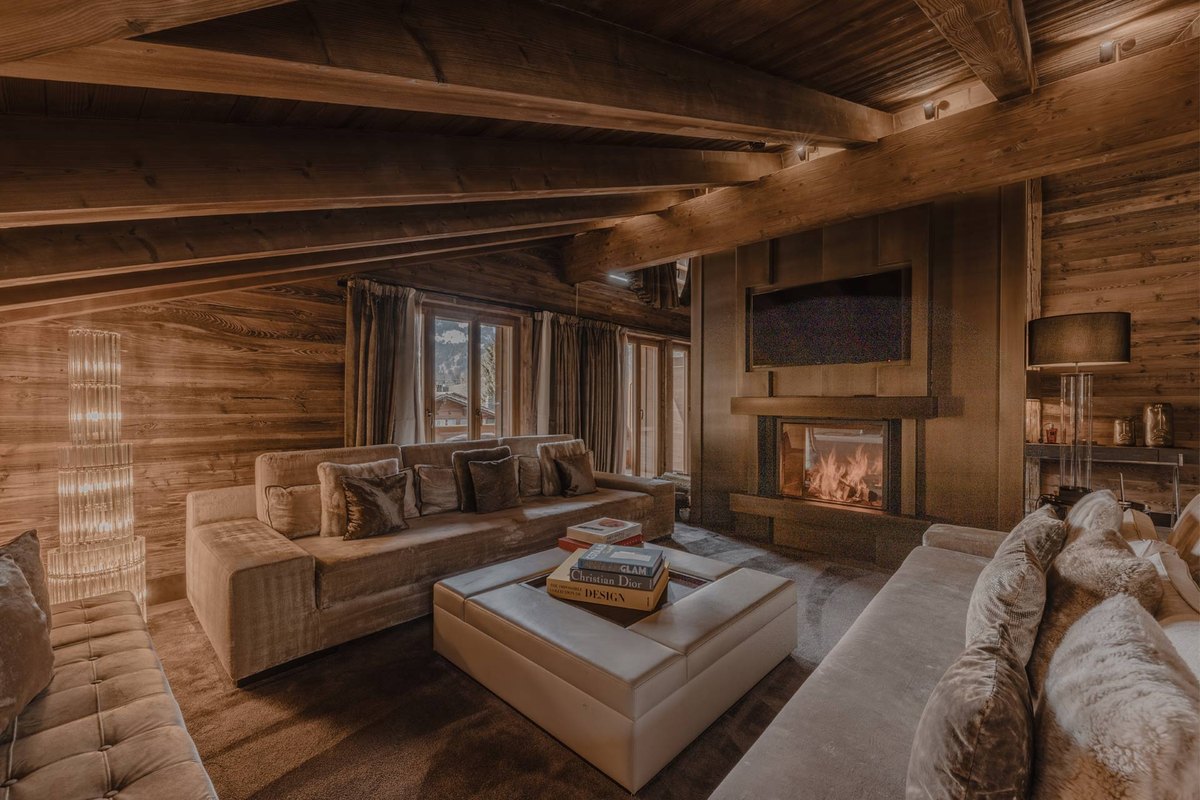
A wooden slat accent wall is a decorative wall treatment made by attaching narrow, evenly spaced wooden strips vertically across a wall. The design creates depth, texture, and natural warmth without requiring complicated decorative patterns or expensive wall panels.
It is a popular choice for modern, minimalist, Scandinavian, and contemporary interiors. You can install it behind a television, above a bedroom headboard, in an entryway, or along a living room wall.
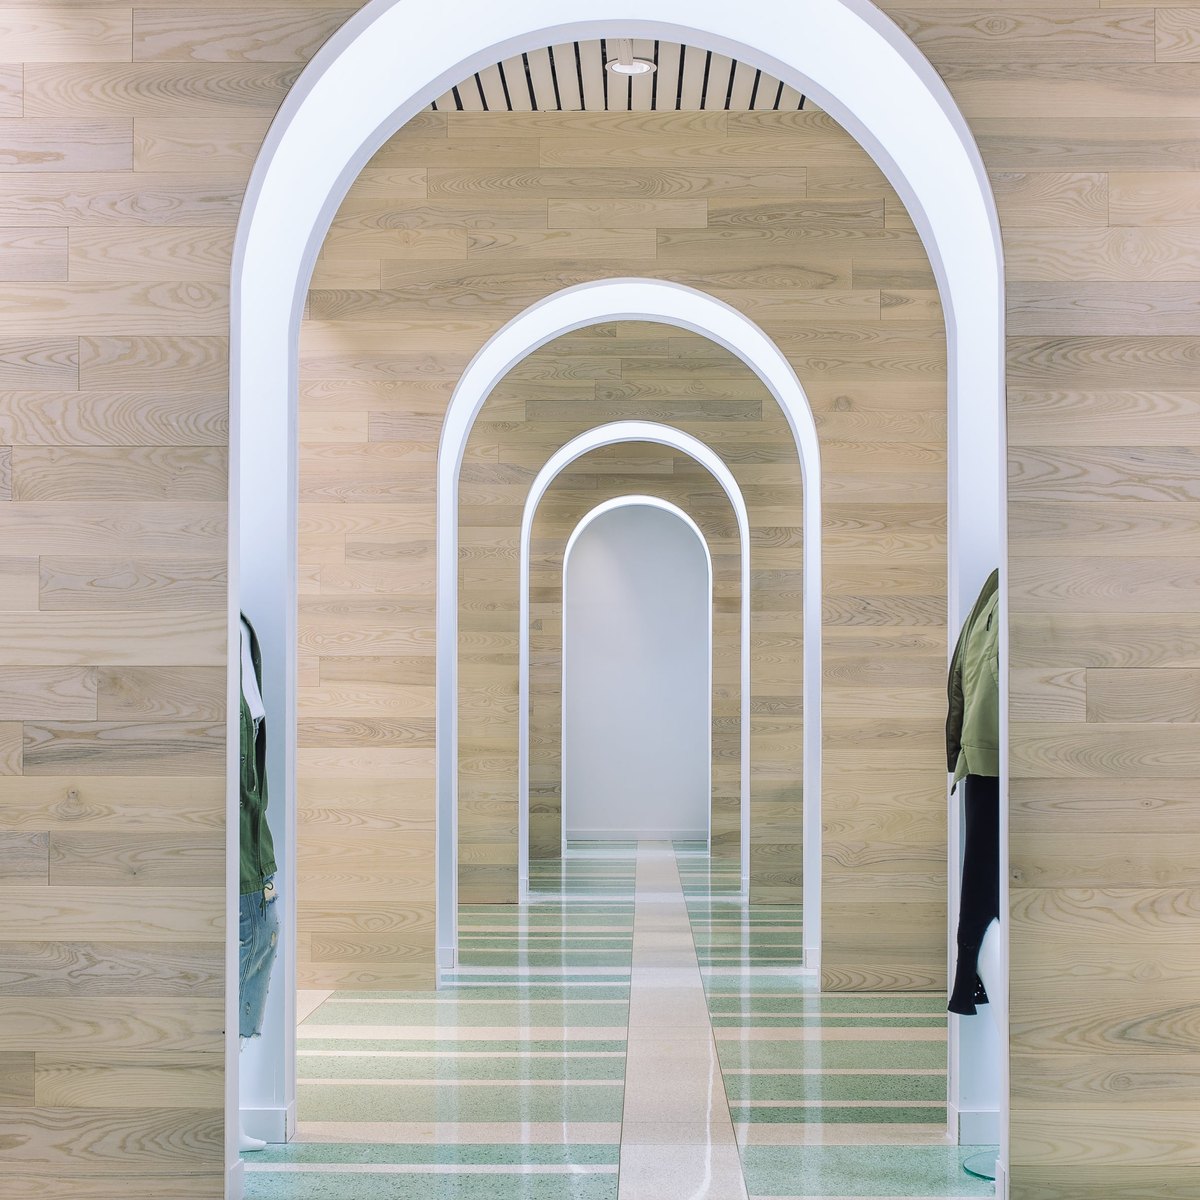
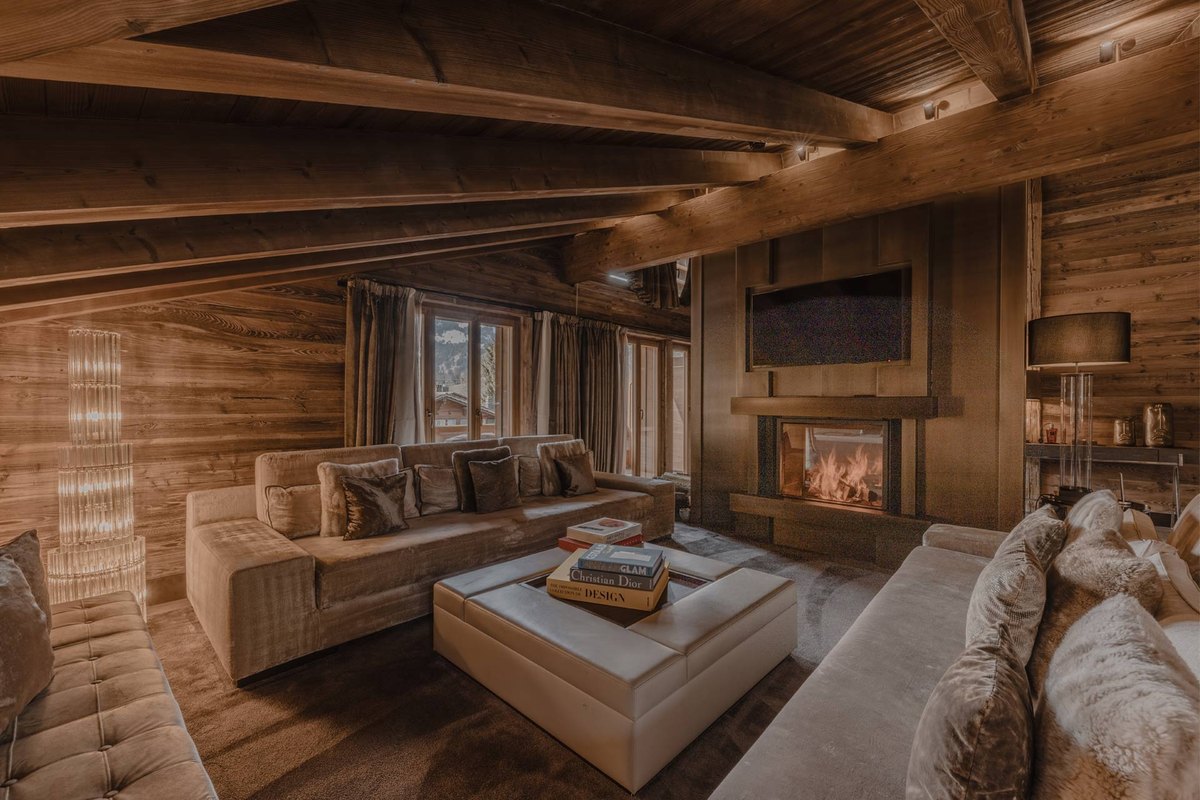
The best part is that you can customize the appearance by choosing different wood finishes, strip widths, spacing, and background colors. Natural oak tones create a cozy atmosphere, while darker walnut finishes give the room a more sophisticated look.
Materials You Will Need
- Wooden strips or 1x2 trim boards
- Measuring tape
- Pencil
- Spirit level
- Hand saw or miter saw
- Sandpaper or electric sander
- Wood stain or paint
- Paintbrush or small roller
- Construction adhesive suitable for your wall surface
- Finishing nails or brad nails, if appropriate
- Wood filler for nail holes
- Caulk for finishing small gaps, if needed
- Safety glasses and protective equipment
How to Make It
1.) Plan Your Wall Design
Choose the wall you want to decorate and measure its width and height. Decide whether you want the wooden strips to cover the entire wall or just a section. Plan the spacing before cutting anything. Consistent gaps are important for achieving a clean, professional-looking finish.
2.) Prepare the Wooden Strips
Purchase wooden trim boards or cut plywood into evenly sized strips. Choose a width that complements your room. Sand the edges and surfaces to remove rough areas and splinters.
3.) Apply Your Preferred Finish
Choose a wood stain for a natural grain appearance or paint the strips to match your interior design. Warm oak, walnut, and medium brown are excellent choices for a cozy look. Allow each piece to dry completely before installation.
4.) Mark the Wall
Use a measuring tape, pencil, and level to mark where each wooden strip will go. Prepare a small spacer using scrap wood or cardboard to maintain equal gaps between the strips.
5.) Install the Wooden Strips
Start from one side of the wall. Apply an appropriate construction adhesive to the back of each strip and position it along your markings. Use a level to make sure every piece is straight. Add suitable mechanical fasteners where necessary, making sure they are secured to appropriate wall framing or anchors.
6.) Finish the Details
Fill visible nail holes with wood filler and carefully address any small gaps. Touch up the paint or stain where needed. Allow adhesives and finishes to cure according to their manufacturers' instructions.
7.) Style Your New Accent Wall
Keep the surrounding decor simple so the wooden texture becomes the main feature. Add warm lighting, a floating shelf, or a few carefully selected decorative pieces to complete the look.
Designer Tip
For a more elevated appearance, paint the wall behind the wooden strips a darker shade, such as charcoal, deep brown, or warm taupe. The contrast between the background and natural wood creates more visual depth.
If you are decorating a rented home, consider building the slat design on a separate backing panel that can be mounted securely and removed later. Always check the wall type and mounting requirements before installation.
A simple wall can become one of the most beautiful features in your home with a little planning, creativity, and DIY effort.
Send to a friend
Make someone's day with a card, a note or a quick message.
Send to a friend
Make someone's day with a card, a note or a quick message.
Send this to a friend
Make their day with a beautiful card and a note from you.